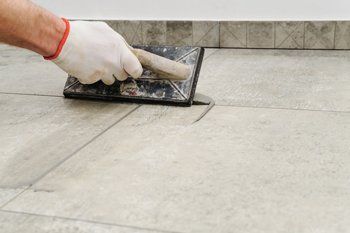
Tile remains one of the most popular flooring materials — and for good reason. Tile not only possesses an incredible durability, but this flooring will also add beauty and value to virtually any home. Of course, this only holds true of tile flooring that is installed the right way, and as any good tile contractor knows, grout represents the most important factor in a tile floor.
Unfortunately, many people who undertake the task of installing a tile floor themselves don’t understand the importance of correct grout application. If you would like to learn more about how professionals achieve the best results, read on. This article will outline three key aspects of installing grout the right way.
1. Cleanliness
Before applying grout, there are two phases of the tile installation process you need to complete. The first involves laying down a bed of thinset on the subflooring. Tiles are then pressed into the thinset using a guide to ensure correct spacing. After the layer has dried, it will be time to fill in the joints between the tiles using grout.
However, you can't just rush into grout application. First, your joints must be as clean as possible. Any loose, crumbling bits of thinset will promote a weaker bond between the tiles and the grout. This will increase the likelihood of one of the most annoying tile problems: tiles getting loose over time.
Use a paint scraper or screwdriver to loosen up any stray bits of thinset from the inside of the joints. Then vacuum out the joints using a vacuum cleaner equipped with an appropriate brush tip. Make sure that no dirt, debris, or dust remains in the joints.
2. Consistency
Now that your floor has been correctly prepped, you can move on to mixing up your grout. This step may appear deceptively simple; after all, you just have to add water to the grout mix you've purchased from a tile supply company. However, this process can be more complex than you think.
Consistency is the key aspect to be aware of. Consistency is directly related to the amount of water you use when mixing up your grout. Too much water will result in a grout whose consistency is much too thin. This will weaken the strength of the grout, making it more liable to crack and crumble as time goes on.
However, too little water also poses problems. Because the grout will be excessively thick, you will find it especially difficult to apply it evenly to your joints.
Be sure to closely follow the manufacturer's recommendations regarding the water to grout ratio. A well-mixed grout should have an easily spreadable consistency reminiscent of creamy peanut butter.
3. Application Tips
At this point, you will finally be ready to start laying down your grout. For this aspect of the project, you will need a grout float — a hard rectangular piece of plastic with a handle on one side. Use the edge of the float to scoop up some grout from your bucket. Be sure not to take too much, otherwise, you'll have a hard time controlling the grout as you apply it.
Also, pay close attention to the angle at which you hold the grout float during application. Ideally, the grout float should remain at roughly a 45-degree
angle relative to the surface of the tiles. By keeping the float at such an angle, you can more easily avoid the problem of accidentally digging the edge of the float into the grout lines.
Contact Tile Supply Experts
Installing a tile surface takes the right kind of knowledge and the right kind of supplies. For more information about what you'll need to successfully complete your next tile project, feel free to contact the tile supply experts
at AA & Bob Allen Inc.
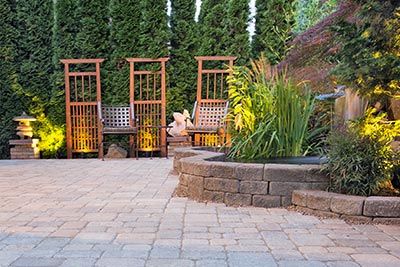
If you live in California, you have probably noticed the trend of converting a sod landscape to a more drought tolerant hardscape. You can reduce a huge amount of your water usage simply by replacing a portion of your grass and other water-hungry flora with gravel, rocks or mulch accented by drought-tolerant plants. Additionally, a landscape consisting of rock or gravel:
- Is simple and easy to install, and can be used as walkways, patios, paths and driveways.
- Helps prevent weeds from sprouting as long as a weed barrier is installed below.
- Encourages drainage into the soil below and prevents erosion during hard California rains.
- Is unpleasant for rodents and other digging creatures, and helps deter them from the base of your home.
Once installed, your hardscape only requires a little maintenance throughout the year. Take a look at what you need to know to keep your gravel and rock yard looking great.
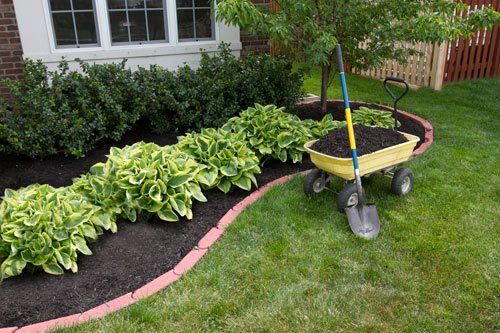
Dramatically transform your home's landscaping and garner instant gratification by using materials from your landscape professionals. These materials will create an aesthetically-appealing result and can be implemented in just one weekend to improve your home's overall curb appeal.
Seven strategies to dramatically transform your property are:
1. Loam
If you want to plant lush foliage, seedlings and vegetables, you need good loam. Loam is a combination of clay, sand and decomposed matter called humus, and creates a rich soil for planting. It preserves moisture while also providing adequate drainage and giving your plants, trees, flowers and vegetables the nutrients they need to thrive.
Have your landscape supplier bring loam to get you started on lush, thick vegetation and gorgeous gardens.
2. Mulch
Mulch can work miracles; it is a natural material made of bark and wood, often found in black, red and brown varieties. You can use mulch anywhere to cover up bare patches, trim flower beds or use for preventing weeds by placing weed-stopper underneath. Make sure to cover the area completely with mulch to ensure that no sunlight can reach the soil and cause weeds to grow.
3. Gravel
Gravel is also great for covering up areas around your property that might be barren or impractical. For instance, use road gravel to spruce up and level your driveway, or use pea gravel to create a user-friendly walkway towards your home. The many different aggregates of gravel include septic rock, which can help preserve, maintain and protect your home's sensitive septic system.
4. Decorative Stone
If you want to create something that is cohesive with the curb appeal of your home, use decorative stone. White rocks, cobbles, salt and pepper rock and decomposed granite are a few of the choices that homeowners have when looking at bringing in some stone features to use in and around their exteriors. You may also consider using boulders to contain areas of your yard or to provide a distinct and dramatic aesthetic on your property.
5. Pavers and Spacers
Pavers and spacers allow you to create linear borders and edging for any area of your yard, driveway or garden. For example, you could pave walkways, parking spaces or paths through your gardens, or use spacers to separate and segregate your flower garden from your vegetable garden. Pavers also work well with natural mulch to create unique patio spaces that are cohesive with the natural surroundings.
6. Flagstone
Some of the most beautiful flagstone comes from Arizona and Idaho; implement this beautiful stone around your home in a unique way. Hire landscapers to use flagstone on a patio or around your gazebo, or consider using flagstone pavers around your pool or water feature for a smooth surface that requires little maintenance.
Think about pairing flagstone and bark mulch for a rustic path that leads to other areas of your property; for example, to a garden or a dock.
7. Cement
If you really want to make a dramatic change in your landscape, have your landscaper install a cement patio. A patio provides an extension of your home's living space, providing the perfect place to entertain and relax during mild weather.
You could also have your landscaper install a cement slab under a carport or pergola to provide additional storage and convenience for when you want to shelter your belongings, car or outdoor spaces.
Want to transform and improve your property this weekend? Talk to the landscape professionals at AA & Bob Allen Inc.
to determine the best approach and materials for your distinct landscaping preferences, and budget. Use these seven suggestions and strategies to inspire your own landscape design ideas and plans.
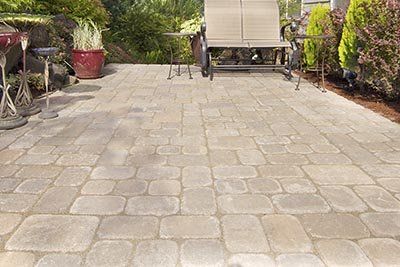
You might think of a low-maintenance yard as nothing more than dirt-filled ground and a few cacti, but the truth is that it's easy to create a yard that requires minimal maintenance while providing all the beauty that anyone could want.
The ideas outlined here should get you started on your personal journey toward a creating a low-maintenance yard that you're sure to love.
Utilizing Decorative Rocks
Decorative rocks can be used in all kinds of places throughout the yard to create beauty while keeping maintenance requirements to a minimum. They come in various shapes and sizes and can be used to create many different features in the yard.
Consider making pots for your flowers and hedges by stacking decorative rocks in a circle to make an above-ground hole.
Just fill the rock hole with your favorite soil and plant seeds or cuttings of your preferred plant life. The size of your plants at maturity should correspond to the size of the rock pots you put them in.
This means that you can use decorative rocks to control the size of any foliage that is introduced to your property and achieve a manicured look that doesn't take a lot of trimming and shearing on your part.
You can also create privacy walls with decorative rocks
to keep a specific area of your yard free from the prying eyes of passersby.
Buy rocks of the same shape and size and then just stack them to create a fence line. Applying ready-mix concrete to the bottom and top of each rock before placing it will help keep your new privacy wall sturdy for years to come with minimal maintenance requirements.
Decorative rocks can even be used to create garden seats – a big piece of Arizona flagstone sitting atop smaller flat rock legs is sure to improve the appeal of any garden.
Smaller pieces of rock can be used to create garden stools. Stacking similar sized red lava rock slabs will create a stool that serves as a conversation piece and a comfortable place to sit.
Smaller pieces of rock can be used to create garden stools. Stacking similar sized red lava rock slabs will create a stool that serves as a conversation piece and a comfortable place to sit.
Relying on Bark, Mulch, and Gravel
Using bark, mulch, and gravel in your yard is an excellent way to minimize weed growth and reduce the need for mowing a lawn.
For example, putting mulch around your flower beds, trees, and gardens will keep grass and weeds from growing in the area and provide your foliage with some food without the need for mowing or watering.
Replacing some of your grass with gravel will cut down on mowing tasks and provide you with a place to create an outdoor living space complete with table, chairs, and a fancy barbecue grill.
Replacing some of your grass with gravel will cut down on mowing tasks and provide you with a place to create an outdoor living space complete with table, chairs, and a fancy barbecue grill.
You can also place gravel along fence lines, between the yard and driveway, and along the exterior of your house to keep weeds from growing extensively.
Bark can be used to keep kids safe in play areas and will eliminate the work it takes to keep grass growing where kids are constantly trampling on it.
Investing in Low-Maintenance Plants
No yard is complete without some colorful plants living there to help bring it to life. And while many plants require a serious commitment to maintenance, there are quite a few low-maintenance options you can invest in that will provide the beauty you're looking for but that won't require much attention overall.
Try one of more of the following options on for size:
- Coreopsis
- Penstemon
- Yarrow
- Lantana
- Agastache
Mix and match flowers with green shrubs to ensure that the colors and depths don't get too overwhelming for anyone while spending time in the yard.
AA & Bob Allen, Inc. can help you create the perfect low-maintenance yard for your needs. Contact us today to schedule a consultation.
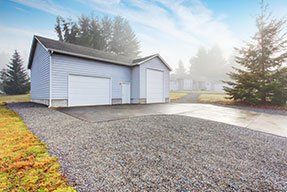
You can easily upgrade your driveway by placing gravel over the existing area. Gravel adds beauty and helps reduce dust production from constant vehicular traffic. It's also the least expensive driveway option (compared to asphalt and concrete) and can last upwards of three years before needing to be redone.
There are many types of gravel on the market that you can choose to make your driveway look more modern and organized. Consider these types when buying loose rock for your property, and contact a landscaper for more detailed information about the options you’re interested in.
​Road Base
Road base is exactly that: the base placed on a road before the area is covered in asphalt or concrete. Road base provides added durability and works well as a stand-alone stone for your driveway.
Road base is very dense and allows for ideal water runoff. The hard rock takes longer to deteriorate and crumble than other styles and can be easily installed with a skid steer by your landscaper. The only downside to road base for your driveway is the color options: the material typically comes in a rich black tone or the more popular yellow tint.
Limestone
Limestone is a loose stone, and each piece of the small rock has its own shape and design. Limestone is fairly versatile in its color, coming in hues as light as mint or as rich as a soft blue-green. Limestone will wear down with time and constant vehicle traffic, but one way to help preserve its longevity is to tightly compact the stone when it is first applied in your drive.
Marble Chips
If you want your driveway to glitter with color and have a charming effect, then opt for marble. Marble chips are nearly transparent in their individual design but form a rich hue when compounded in your drive. Marble often comes in a bright white but is also available in other hues that can be mixed together to give you a colorful, ethereal driveway.
Marble is very durable and holds up to high traffic. It's also among the most expensive types of rock, so compare its cost to other gravel and stone with your landscaper so you stay within budget on your project.
Pea Gravel
Known for its bright, varied colors and tiny round size, pea gravel is a common choice for homeowners who wish to gravel their driveways. This gravel is also seen on playgrounds and flower beds and is relatively inexpensive. The lightweight gravel makes it very easy to install. Your landscaper
will recommend how much gravel you need to buy to fill your driveway completely and lessen risk of dirt emerging through the rock once applied.
Gravel and stone driveways are very easy to maintain and can last for many years. Weeds and other nuisance plants don't thrive well
in plain rock so you can maintain the streamlined, organized appeal of your drive longer when you choose these types of material for the area. Since gravel and stone come in a variety of hues, textures and sizes, you can customize your driveway easily (and your flower beds as well, if you have material left over that you’d like to use).
Make sure to consult with your landscaper before you buy any stone or gravel for your drive. They will be able to tell you how much to buy and the best way to apply the material so it lasts and looks attractive. Count on our team of landscaping experts at AA & Bob Allen Inc. to assist you in choosing the best stone or gravel for your driveway project.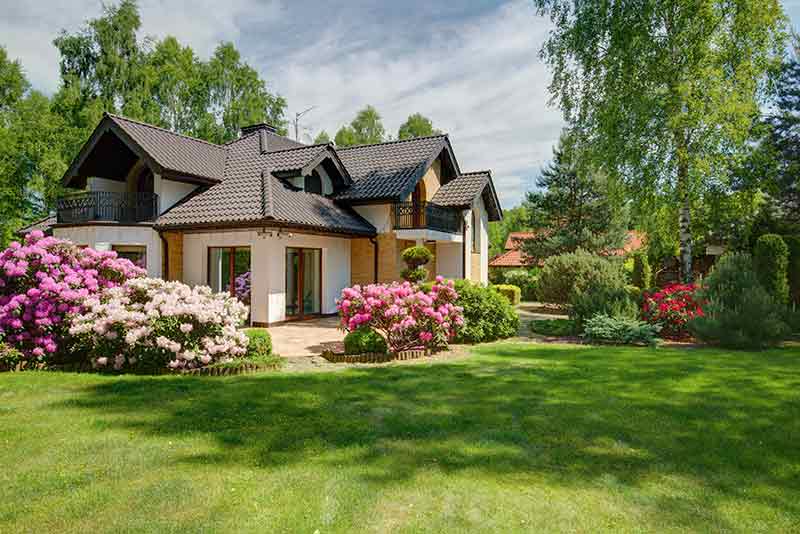
Spring is coming, which means you're probably starting to think of all the warm weather projects that come with owning a home. One of those projects might even be landscaping. If you aren't sure where to start with your next landscaping project
, here are some tips to help you prepare.
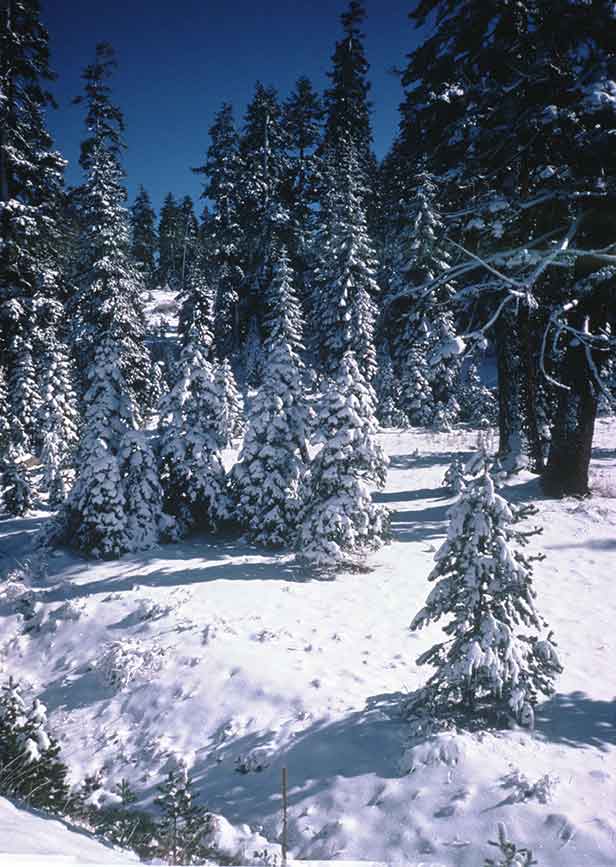
Before winter arrives, chances are you prepare your indoor environment for the cold weather by cleaning your heating unit and getting out your winter clothes. However, your yard needs attention if it is to survive the winter as well. Here are a few tips for winterizing your yard
before the cold comes.

With winter approaching, any home remodeling plans should be taken care of quickly. One of the most important – but also ignored – components of your home is the driveway. This is the first thing that anyone sees when they approach your home and the last thing that they see when they leave. It’s important that it’s something you should be proud of. If you’re looking into driveway materials, gravel could be the right choice for you. Here are three reasons why:

 2904 Beyer Lane, Stockton, CA 95215
 Hours of Operation